Unleash the Power of Invisible Mannequin Product Photography
Garment product photography with Ghost Effect is product photographs of garments that preserve the shape and silhouette of a person without a visible mannequin.
If you have a business in the clothing industry, you have certainly faced the challenge of presenting your product. Customers need to see the shape of the product, and how it fits and fits on the body, and clothing that is flat or folded does not provide a satisfactory level of detail. Apparel photography needs to show how the products are worn, but photoshoots with models can be expensive and photos with a mannequin visible can put customers off.
The ghost mannequin, ghost image, invisible mannequin, or 3D effect mannequin is a technique for post-production of clothing photography. The ghost mannequin effect allows multiple photos of the product on a mannequin and then stitching those photos together, along with removing the mannequin in the post-production process. The result is a realistic image that focuses attention on the product.
All you need is a simple photo plan and detailed instructions for working in Photoshop. We’ll show you how to do it.
The rules are quite simple, but the execution can be time-consuming and demanding. We’ll cover the entire process in this post. From setting up the equipment in the studio to the finished product photo. With this post, you’ll finally be able to take ghost pictures yourself.
WHAT DO YOU NEED TO TAKE GHOST PHOTOS?
To take photos with a ghost effect you need at least:
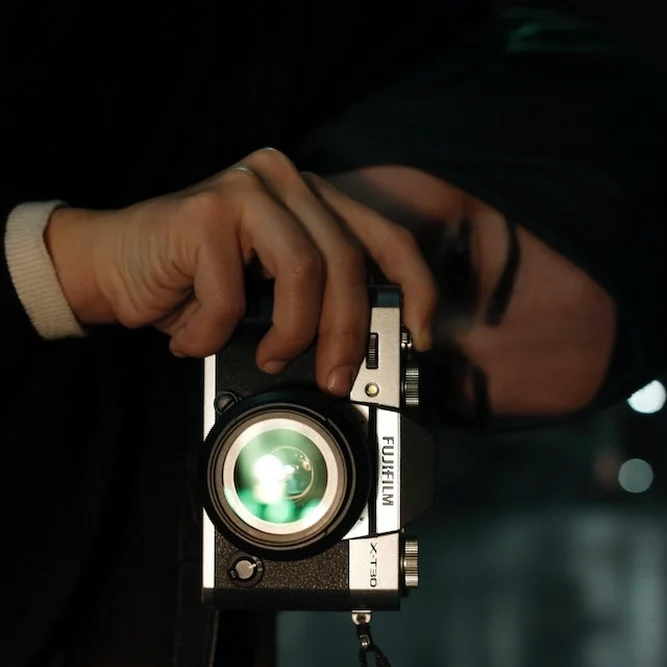
- Camera or phone
- Mannequin or model
- Photo manipulation program
PHOTOS OF HIDDEN AREAS
At its most basic level, the invisible image of a mannequin is an amalgamation of two or more images – also known as “composition”. The first photo is taken with a dummy. The second (and any additional photos) are flat views of any part of the inside of the garment that has been blocked by a model or dummy, typically stuck to a white plate.
Most of the invisible obscured pieces of cloth are obtained from the other two images, but sometimes more than one image is required. It all depends on the shape and cut of your product and how many details are covered by the model or mannequin in the photo on the “body”.
The best way to explain how this effect occurs is to show it to you. Pay particular attention to the shots of the foam board and how you capture the inner parts of the product.

At this point, you should have a pretty good idea of the concept of this technique and its basic requirements for photography. Read on to learn how to set up your studio and capture the images you need.
PHOTOGRAPHY PLANNING
To create photos with the invisible mannequin effect, you must first photograph your model or mannequin worn product front and back or side.
If you decide to use a model, please make sure to use a static pose as shown above. Your model should be styled minimally and long hair should be tied back so it doesn’t obstruct your viewing of the product. These details will make it easier to edit the image.
The white mannequins appear to be non-reflective. If your mannequin has hands and arms, make sure the limbs can be placed outside the body.
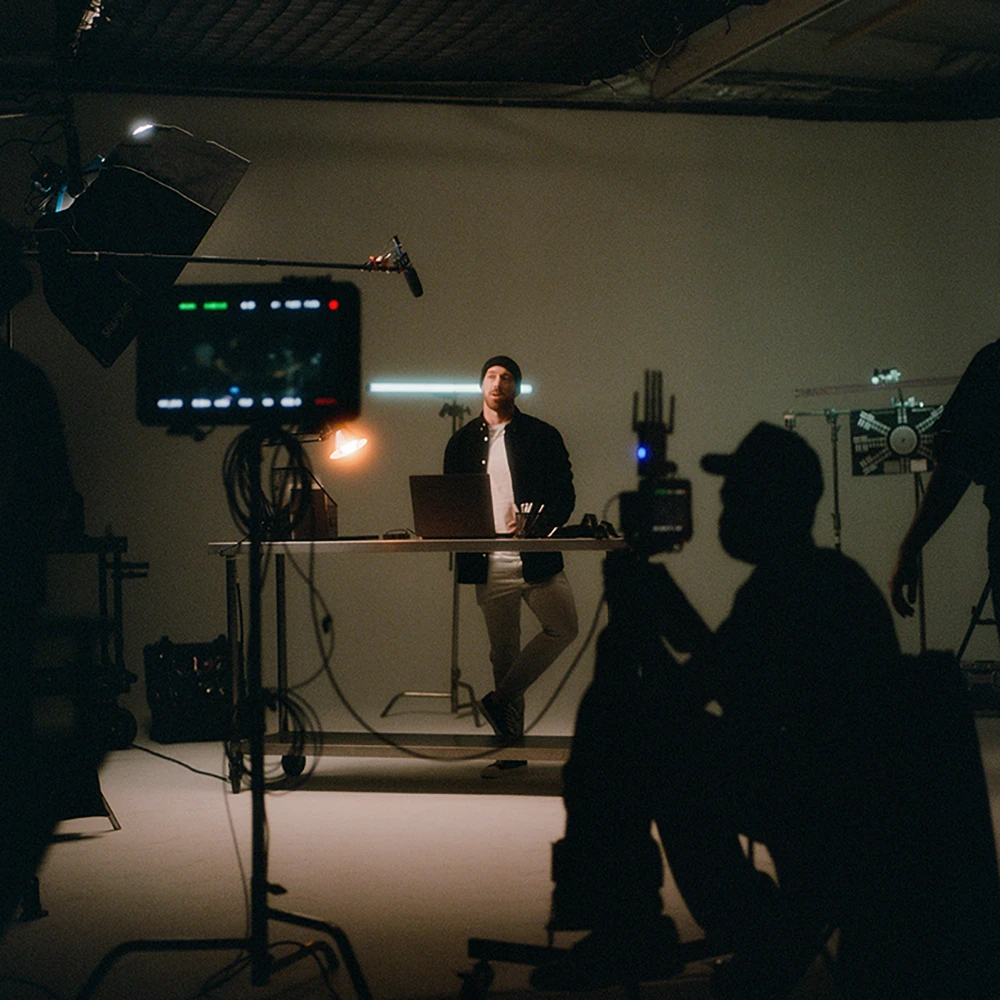
LIGHTING SETTINGS AND NECESSARY ACCESSORIES.
To take “ghost photos” you need to be able to create high-quality photos in a studio setting, for which you need a camera with interchangeable optics, a sharp “long focal length” lens, light stands, photography lights with umbrellas modifiers, or softboxes, and a bit of space.
When shooting, it is important to position the camera so that it is directly aligned with the area of the product that you are currently photographing. (Photographing products under too high or too low an account may make them narrow, and consequently, the objects may not look real.)
Pictures are taken with a long focal length lens, thanks to which we avoid image distortion that arises when using standard or wide-angle lenses. Make sure your studio’s photo space is large enough to accommodate two studio lights with umbrellas evenly spaced on both sides of the product. When positioning the lights, it is important that they are not too close to the subject as this can result in too much light power transfer. You can find more about Inverse-square law on the Wikipedia website.
To create a “ghost” image using our technique, you first need to capture the front and back views of the product. Then you should prepare and hang your product on a piece of white plate and photograph the front and back views again. These shots will allow you to present the inner areas of the garment, which we will combine later. The necessary internal shots will be different for each product, but not all clothes will require two internal pictures or photos on the back of the product.
Make sure you use exactly the same lighting conditions for both the mannequin/model photos and the product photos on the board. The easiest way to do this is by marking the position of the dummy/model and placing the plate in exactly the same place and at the same height. When images of the mannequins and the back are stitched together in post-production, the result is a “ghost” effect that shows the shape and fit for a fraction of the cost of a model session.
POST-PRODUCTION FOR PRODUCT PHOTOGRAPHY
Creating an invisible mannequin effect is relatively easy, assuming you have the appropriate post-production software (eg Adobe Photoshop) and your products have been properly photographed. You can also outsource this step to an external company and save your time, or if you feel like it, follow these six simple steps to create your own ghost photos in Photoshop.
- Step one: Open files in Photoshop and create layers.
First, you need to open the mannequin photos and the plate photos in Photoshop. Select a mannequin photo file and create a new background layer. Fill this layer with white (it will serve as a general background when you’re done). It is also helpful to label the layers so that you can distinguish them and keep them organized. - Step Two: Use the selection tool to ‘carve out’ the product on the mannequin photo.
Now it’s time to select the product in the mannequin photo. Zoom in and select your favorite selection tool: quick select, lasso or magic wand, or my favorite – the feather. All these tools have the same use and that is to determine the image that we want to keep. Note that in most cases, using a white background when photographing allows the mannequin to be easily removed due to the color separation between the product and the background. - Step three: refine and place the mask
After selecting the entire product, fine-tune the mask to make it nice and tight, eliminating all the background and mannequin. This can be achieved by using the Refine Edge tool in the menu. After you have refined the edges, create a mask on the shirt layer. At this point, you should see your product floating freely against the white background you created at the beginning. If necessary, refine the mask a bit and/or refine the edges of the product to give it a nice, clean look. - Step four: Repeat the previous steps with the photo with the disc.
Now it’s time for the second photo, repeat steps 1, 2, and 3 on the product image from the disc. This type of product image may seem a little strange at first, but it’s important to use it; photographing the product inside out will allow you to show the inside of the back of the product, completing the illusion of a mannequin. We promise you that the effect will look great in the end! Create a new layer, select a product, and create and refine your mask. - Step five: combine the images
When both images contain accurate masks, drag the mask from the plate photo onto the dummy’s invisible product image. Arrange the layers so that the board photo is lower than the mannequin photo. Then adjust the position of the foam board layer and adjust its proportions so that it perfectly matches the layer of the mannequin. - Step six: Add details
Finally, add a shadow between the two layers to give the product some depth, and save a copy of the Photoshop file with all layers intact. After saving the project file, save the image again as jpg/png.
If you really want to be efficient, work quickly and efficiently, outsource it to our company. We can take care of the entire session or just retouch your photos. We have been dealing with product photography for years and we know how to make sure that your products look their best. We have a fully equipped studio and the equipment on which we work allows us to obtain the highest quality photos.
contact us for the valuation and implementation of your project.
Write to us at office@packshotphot.com, call us on
0048 732 188 619 or use the contact form.